Making my own wedding dress was one of the largest projects I have ever taken on, and though I wasn’t keeping track, I think I put in easily 150 hours, if not more. The big plus of it all was not having to compromise. I got the exact dress I wanted, and I spent less than $200. This includes making my own dress form. I’m writing a blog about it because there didn’t seem to be much out there on the internets about making your own dress. Or at least not an intricate one. If you arrived at this blog because you Googled “Make your own wedding dress” and you’re thinking of making a complicated wedding dress, I highly recommend that you only try it if you have many years of sewing experience and have taken tailoring classes. And even then, you might want to consider just getting a part time job and using that money to have someone else make a dress for you so you don’t go crazyyyyy.
Still, how fun to have so much control one the look of one’s own dress!
This isn’t intended as a tutorial, but it might answer some questions about working with circular ruffles, creating a bodice, an overlapping texture, or how to approach a huge project (hint: steal a 12 year-old’s ADD meds. Just kidding. Quit drinking coffee and then start up again on the days you need to work on your dress).
The first challenge was to pick out the dress I wanted to base it on. I looked through a ton of dresses online and in magazines, but I kept going back to my first choice, which was Demi Moore’s dress from the 2010 Academy Awards, selected from the Atelier Versace Spring 2008 line.
My wedding was in a meadow, so I had to make a dress that was a little bit shorter than this one, or one that had a detachable part.
My next challenge was to get a usable dress form. I ended up making one out of duct tape using one of the many tutorials on YouTube. So far, it looks exactly like Demi’s dress!
While it was sitting around in my living room, I put a thrift-store wedding dress on it. Then when I wasn’t home, my fiancé put a Stormtrooper helmet on it. It’s really scary to get up in the middle of the night to get a glass of water and forget this is in your living room. It looks a lot like a ghost in dim light.
In hindsight, I’m glad I did the dress form this way. First, I saved money. Second, even though the addition of the layers made the form a little bigger than my body, it was close enough to my shape that I was able to sculpt the dress onto it and custom make a dress to my exact contours. Also, since the texture of the duct tape was so much different than the fabric, I was able to hand sew parts of the dress while it was on the form without accidentally stitching the fabric to the form.
Next, I bought a pattern for a prom dress so that I could use it to make the liner for the top of the dress:
The slant of the dress didn’t matter, because I pinned the skirt liner to it, pretty much ignoring the slant -The skirt does intentionally sit a little higher on the left side of my body where the fabric flower is.
Next, I made a basic skirt liner, following the pattern of a basic, boring ordinary skirt from my closet. This was my first attempt, but I ended up making a slightly longer one.
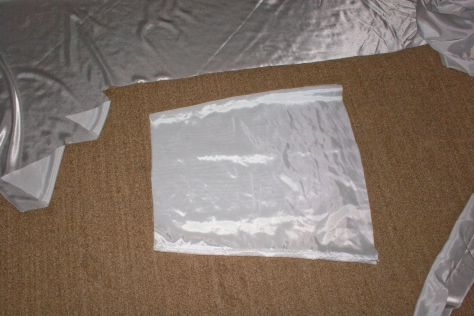
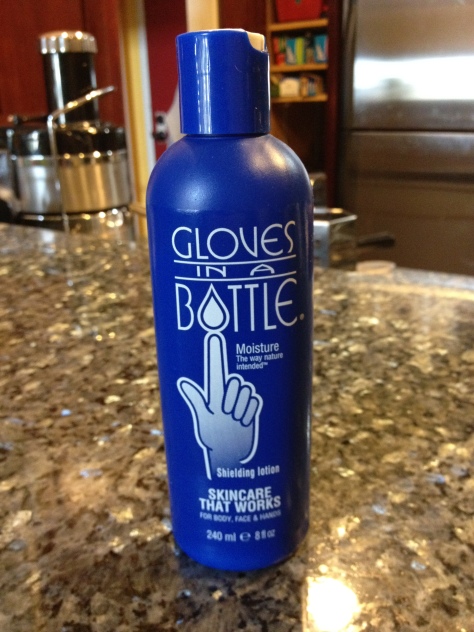
Then I went to the fabric district in downtown LA and, over the course of 2 visits, I walked around feeling fabric until I found exactly the texture, color, look and weight that I wanted. This turned out to be a crepe satin. Then I bought ten yards of it, plus 3 yards of sparkly white Organza. I used up every last bit of that ten yards, too. To make the ruffles, I made a donut-shaped pattern out of the tissue paper you use to wrap gifts. The middle was about 4.5″ in diameter, and the thickness of the ring was about 7″. Once I started handling the fabric, I would start off every sewing session by washing my hands and then putting ‘Gloves in a bottle’ on my hands. I can’t even feel that it’s there, and it puts a covering over my skin that keeps the oils in my fingers from getting on the dress and discoloring it over time with all the handling. It kept the fabric sparkling-white and also qualified me for a spot in Neurotic Bride magazine.
These donut shapes got cut out and then slit down the middle and sewn to each other. Each layer of ruffles took around 2 and a half donuts.
I also had to painstakingly hem each ruffle. If you haven’t already, this would be a good time to develop a relationship with methamphetamines, because this part goes on FOREVER. Just head on out to Elsinore or San Bernardino and start asking around. Just kidding: espresso, and lots. Seriously, put on a good movie, or a book on tape, and just settle in. I gave this about 3 hours a day, almost every day, for several weeks. I even took it to the beach with me.
I sewed each ruffle to the skirt, gradually higher at the point where the “Slit” was going to be. This was never a slit, I just tacked the dress way up at the side of my left leg. 
The ruffles were about 4 inches apart, and I marked out the location of each one by drawing a line around the skirt with a blue fabric pencil. I had to make an approximate length ruffle, then pin the ruffle to itself to close the circle, then pin it to the dress, then mark where it should meet, take it back off, sew it together, hem it, and sew it to the dress. You think that sounds hard? The last 3 rows were progressively longer, yet the same length in front as the upper ruffles, so a gradual change in length on each side as it went towards the back, and at that point I had to start using algebra. Yeah, the thing from high school that I thought I’d never use. I had to base each cut on the previous cut, and I ended up using that equation where you figure out the height of the building based on the shadow of the tree next to it and then I went crazy. I had to set the dress aside several times and just let my brain get back to me on it. Sometimes creative problems have to be solved that way. You try and you try, and then you sleep on it and you wake up in the morning with a solution, or at least a plan that you can try out. My sister Lisa did explain to me that this couture dress I was copying was carefully hand sewn by experts, who have time, experience and resources (and grunt-workers). They probably made entire dresses and then scrapped them and started over, before getting the ones they wanted. She was never skeptical about my ability to make it, because she’s seen some of the crazy tedious projects I’ve taken on, but she want me to understand that it was a ha-yuuuuge project. I did start it far enough in advance of the wedding that I could switch to a plan B if the dress was turning out awful. Plan B: any white dress from Forever 21.
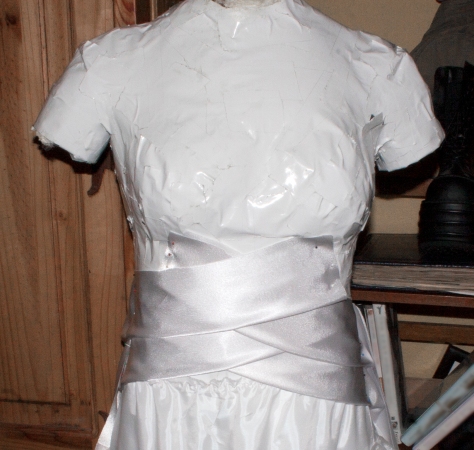
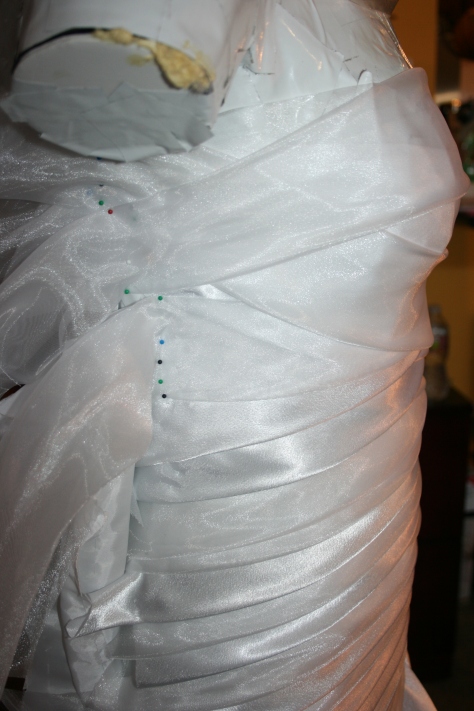
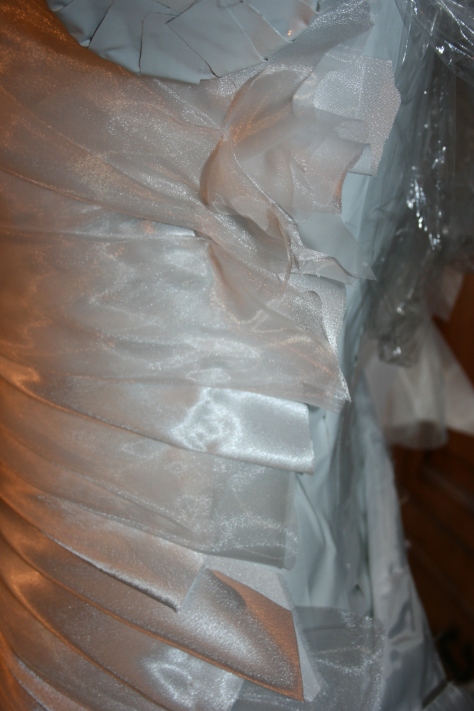
SO, the next thing I needed to do was texture the bodice. This is where the organza came in. I cut this on the diagonal because this is non-stretch fabric, and I needed it to have a very slight stretch in order for it to hug the dress form as it came around the sides. Lisa said this is called ‘cutting on the bias”. I made several strips of the Crepe Satin and Organza at about 18 inches long, 4 inches wide -just long enough to extend past the edges of both sides when it’s on a 30 degree angle. Each strip was ironed right before it was used, and then folded in half. I did a few test runs to make sure the fabric was going to look right:
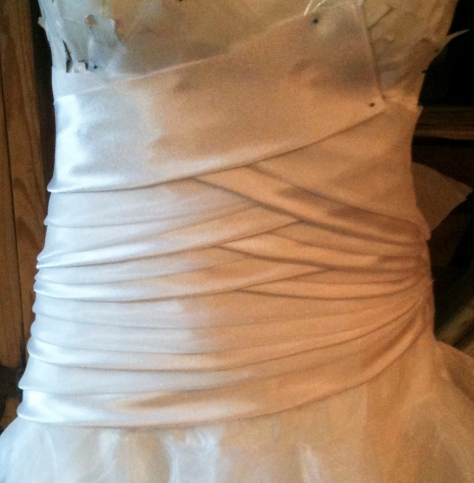
After the test run, I decided I should make longer strips so that they reached each side. I then took it back apart, pinned the front liner of the bodice to the dress form and hand sewed the bodice liner to the skirt of the dress, keeping the side seams open so that they could be sewn together after the texturing was applied. Meaning: the front of the dress was not sewn to the back of the dress until way later. I Then started layering the bodice. I had to start over a few times, because I really wanted to lay down the two different fabrics in a random order, and that proves to be challenging after a while. Some pattern always starts to develop, and any repeats in the layering order started to make it look factory made and prom-dressy. I had to hand sew each strip, one strip at a time, putting the stitch as high up as possible so that it would always be hidden.
This process took another couple of days 😦 But at least I could start seeing the light at the end of the tunnel! I repeated the process with the back of the dress.
When I’d made all the adjustments and was ready to sew the sides together, I took the whole thing to my sisters’ houses. First my sister Asia helped me make sure all the pieces were sewn down and weren’t going to move. Then we added a layer of crepe satin to the bustier, so that if the top of the dress was going to be at all see-through (and it was) then all that would show through was more white satin.
After that, I took the whole thing to my other sister, Lisa’s, house. I was afraid to sew it together inside out because the organza and crepe folds on the bust might become askew in the process. I was stumped. Lisa, who has been sewing her whole life and also took tailoring classes, explained to me how important basting is. so we ran some basting stitches down each side before sewing them together. The zipper was added to the side that would have the rosette, and when the zipper was sewn down tight, we took out the basting. This took 3 whole days and many bloody fingertips. Lisa put her life on hold for 3 days and just sewed with me. Note: when you prick your finger, stop and walk away. It’s a white dress and you don’t want a disaster on your hands.
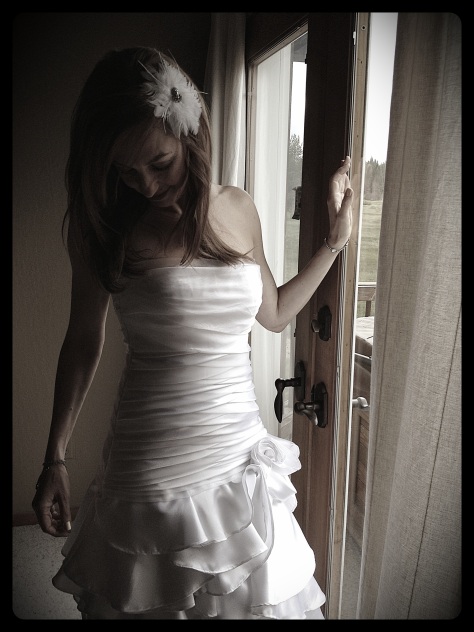
The final part was creating a rosette out of the top ruffle just over my left hip, and then tacking the top part of the ruffles so that they didn’t just look like tiers of curtains on top of each other. We put the dress back on the form to do this.
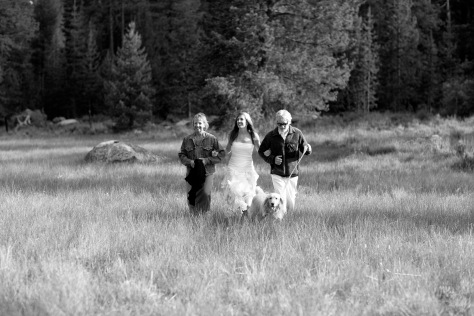
And….. done! I was lucky enough to have Steph at Stephfowlerphotography.com as my wedding photographer. She’s an amazing photographer and has also been one of my closest friends since we were fifteen, so I am double lucky. But more about that on my wedding post.
My brother’s girlfriend, Melissa, took some great Instagram pics that day, too, so they will be sprinkled throughout my wedding album.
I’ll be back soon with my wedding post!


